
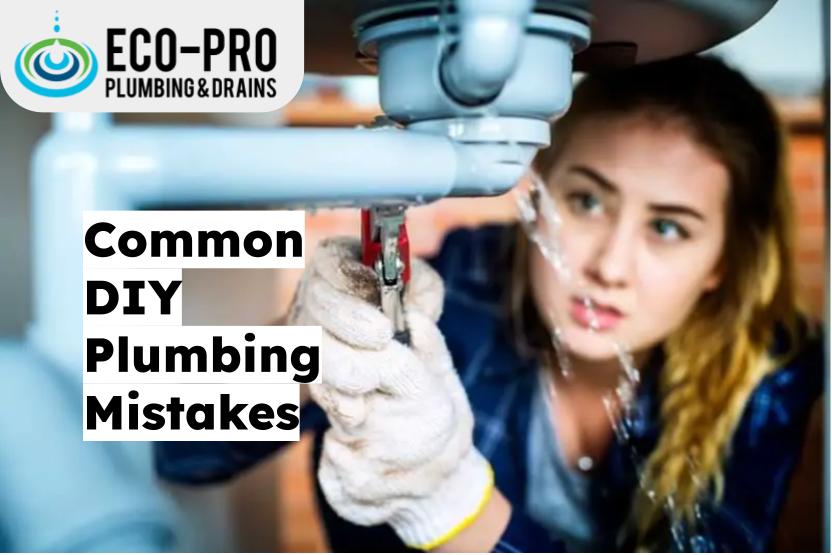
Everyone enjoys a good DIY project until something goes wrong, making the process even more difficult. A DIY gone wrong, especially when it comes to plumbing repairs, can cost you a lot of money. As a result, it is essential to understand the most typical plumbing blunders that people make.
That dripping faucet keeps you awake at night. The reverberating sound of the toilet. A dripping faucet that fills your kitchen counter. All of these common plumbing concerns may have you reaching for the phone to hire a professional, but hold on. Could you solve these difficulties on your own?
Taking up a few DIY projects around the house is a great way to save money and improve your quality of life. You can resolve leaky faucets, running toilets, and other plumbing issues in your house by watching online videos and reading written tutorials. Most of these difficulties are simple enough to resolve on your own. While it isn’t difficult, you will need some specialized tools and some effort.
While not difficult, you will need some specialized tools and some effort. It’s also a good idea to study the distinctions between various glues, solders, fittings, and pipes. There are numerous basic plumbing mistakes that do-it-yourselfers make. Continue reading to learn things to avoid when repairing your faucets and pipes and doing a good job.
DIY Mistakes to Avoid
Below listed are a few DIY mistakes that you should avoid while doing repairs. In case you’re looking for a professional, we are the perfect option for your home’s plumbing issues. We offer the best drain cleaning and faucet repair in Cambridge.
- Overtightening of connections
The most frequent DIY error is overtightening toilet bolts, pipe and fittings, and supply tubes. If turned too firmly, a galvanized or black pipe, coupler, tee, or elbow may be harmed. Although a break might not be apparent right away, using too much force can cause the fitting to malfunction weeks later, leading to floods. Even more frequent is the overtightening of plastic fittings on supply tubes for faucets and toilets.
A supply tube can be sealed with little force. The hex nuts will crack and leak if they are overtightened. Additionally, damage the porcelain by overtightening toilet closet bolts on the floor or in the space between the tank and bowl.
- Not turning off the flow of water
It’s been forgotten that the first step in any plumbing project should always be turning off the water. When water leaks from a loose connection, many do-it-yourself projects can end in expensive tragedies. If you can’t locate the right valve to turn off the water flow, the issue can get worse.
Additionally, gallons of water would have already been wasted, causing a mess in your home, with each passing second. While many plumbing repairs seem straightforward in YouTube tutorials, they often end up being more difficult and complex tasks. If doing DIY repairs sounds too challenging, you can always get in touch with a professional to make sure the job is completed correctly.
- Use of Drain Cleaners at First
The simplest way to clear clogged drains is with a snake or barbed drain cleaning equipment. As an alternative, you can clear the block by removing the P-trap. Unfortunately, a lot of do-it-yourselfers start with liquid drain cleaner and then use far more than is recommended. Since liquid drain cleaners aren’t always the best solution, it’s a mistake. Liquid drain cleaners have a tendency to create more issues than they fix. Excessive use of drain cleaners can corrode metal pipes and traps, leading to leaks.
- Incorrect taping techniques or wrapping thread tape in reverse
For best results, the Teflon tape, sometimes referred to as PTFE thread tape, should be wound counterclockwise around the threads. DIYers frequently wrap the tape in the wrong direction, which causes the threads to unravel when the fitting is tightened. The function of thread tape is defeated since it cannot seal until it is inserted into the threads. As you tighten the fitting, wrap the pipe three times around the threads, the final time with the left side facing. Retie it if it’s pointing to the right and halt if it’s not.