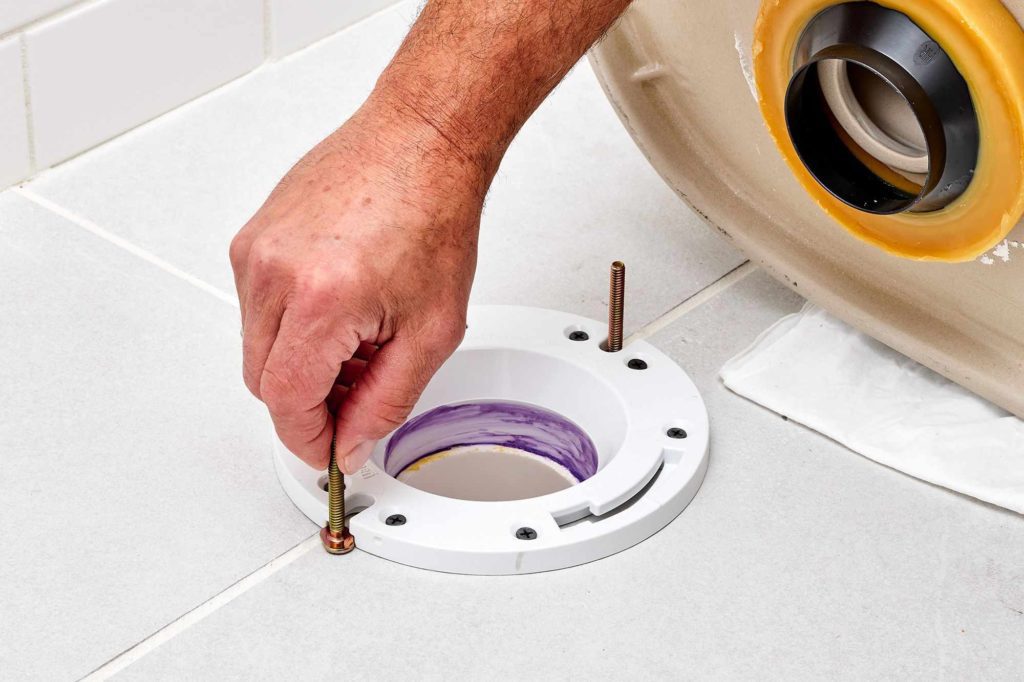
If you’re a homeowner, you should be familiar with toilet flanges. But in case you haven’t, this component, which is positioned at the drain pipe’s surface, helps anchor the toilet to the bathroom floor. These circular components are made of PVC, rubber, or metal. They are kept in place by bolts. Toilet flanges that are worn out or become loose might leak and cause further harm. If you have this issue in your home, you will have to learn how to repair or replace a toilet flange.
In case you’re not a DIY person, contact Eco Pro Plumbing. They provide the best plumbers in cambridge Ontario. Contact them to get the best toilet repair plumber.
Steps to replace the toilet flange
- Remove the toilet
The toilet’s water supply should be turned off. To do this, turn the knob on the back of your toilet all the way down. In order to empty the tank, flush the toilet several times. Before beginning the replacement process, take out the hose that supplies water to your toilet. In order to catch any potential leaks, arrange a large open container or have some towels ready. It might be beneficial if you covered the bathroom floor with newspaper or a tarp.
- Block the outflow pipe with a rag.
Put a rag inside the pipe firmly to prevent your bathroom from stinking bad. Keep it from being stuffed too far into the pipe so that you can remove it quickly. As an alternative, you can stop the pipe as soon as the old flange is removed. However, stopping it here might stop tiny parts, such as nuts and screws, from dropping into the pipe.
- Toilet flange should be checked and cleaned.
Look for the broken wax ring on the toilet. I t tightens the connection between the flange and base of your toilet. If you see it, use a putty knife to remove it. As you work, wax flecks will adhere to the knife. To get rid of them, wipe your equipment with old newspaper or a cloth. Focus on the fasteners that secure the flange to the bathroom floor. After loosening them, put them away for later use. These act as backup replacement screws in the event that the ones from your flange kit don’t work.
- Attach the fresh flange.
The bolts ought to be in the new flange at this point. The nut and washer on the bolt should be taken off. Place these two things next to one another and secure them with two bolts in the appropriate holes. If the bolts from the previous flange are still in good shape, use those. The new flange should be attached to the outflow pipe. Try to allow the flange’s neck rest on the ground; its neck should firmly fit into the pipe.
- Install The New Flange
The screws should be placed on the bathroom floor and the flange lip. To attach screws to the flange rim’s pre-drilled holes:
- Push the device into the screws.
- Rotate the instrument in a clockwise direction.
- If the original pilot holes are compromised, drill new ones.
- If the new screws don’t fit in the holes either, pound plastic wall anchors into them with a mallet.
- Install the toilet
Place the toilet on the flange. The bolts protruding from the flange must fit into the holes, therefore place the holes at their base. When the toilet reaches the flange, push it down hard to shape the wax ring and secure it.


