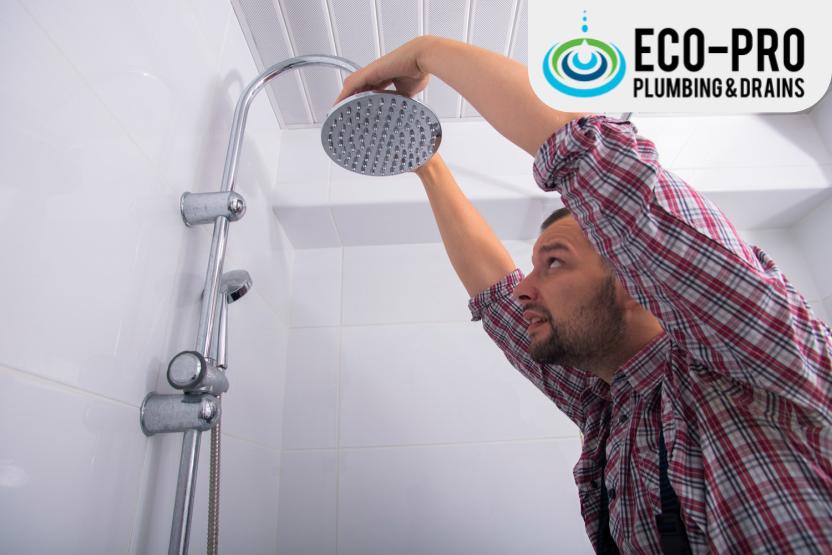
Is there anything more annoying than a leaky showerhead that drips constantly? Here are some suggestions to help you avoid this issue.
Water dripping from the showerhead is caused by a leaking shower valve. Wearing seals, corrosion, or corrosive water deposits blocking parts are the main causes of leaks. Water drips happen as a result of worn-out rubber O-rings and gaskets that seal connections between moving metal pieces. Do not be concerned; we have you covered. The procedures listed below can be used to repair a leaky showerhead and faucet. To prevent harm, consult an expert if you’re not sure what needs to be done.
Contact Eco Pro Plumbing since they offer the best faucet repair in Mississauga. Even if you face any issues at night, don’t hesitate to contact them as they prove the best 24-hour plumbers.
Ways to fix a showerhead
- Disconnect the water line.
In the entire house, turn off the water supply and keep a towel handy. There can still be some water in the pipe that leaks even after your water main is turned off.
- Remove and check for a washer made of plastic.
By using your hands, unscrew the showerhead from the pipe. If the head is tight, use pliers or a crescent wrench to unlock it. See if there is a small plastic washer or rubber O-ring in the showerhead’s threads. A showerhead frequently leaks because of the wear and tear that comes with aging on this part. It loses its ability to hold water over time as it dries up and gets hard. If it seems worn or harmed, replace it.
- Cleanse the showerhead
Since you have the showerhead off, take advantage of this opportunity to clean it, especially if you have noticed a decrease in water flow. Hard water deposits or silt can sometimes be noticed on the inside of the showerhead or at the pipe stem (where the pipe connects to the showerhead). The deposits can have a significant impact on water pressure and flow, resulting in a leaking showerhead.
- Secure it with tape
Teflon tape should be applied to the pipe stem threads if the washer or O-ring appears to be in good condition or has been replaced. Please, however, do not go overboard. Wrap a thin strip around the lines of the pipe stem at the tip.
- Put the showerhead back in its place
By hand-tightening it until you can no longer spin it, reattach the showerhead. By using pliers, give it a final turn. Avoid twisting the pipe or showerhead excessively.
- Switch on the water
Restart the water faucet, then take a brief shower. Then, kindly turn it off. Check to see whether there is still a drop or leak after a few minutes.
Ways to fix a shower faucet
After repairing the showerhead, you can have a leak in the shower faucet if the issue still exists. The worn-out washer on the shower stem, which was swiftly replaced, is typically the source of the leak. Follow these guidelines to do it yourself.
- First, turn off the water supply: You must first cut off the main water supply to the shower, just as you did with the showerhead. After that, let the water drain by opening the faucet. When the faucet is shut off, keep a towel on hand to mop up any water that may spill from the pipes.
- Take the faucet out: If your system has two knobs, you will need to repair both of the valves.
- Replace the washers: A variety of washers are compatible with the shower stem. To ensure that you have everything covered, it would be helpful if you replaced them all while the faucet is disassembled. A seat washer, which is a rubber washer, should be present at the stem’s tail. The packing washers are located at the branch’s center.
- Reassemble the faucet: If you notice any mineral build-up on the pipes, clean it off using a scrub brush. Showerhead replacement Screwing in the valves after replacing the knobs. Caulk should be used to seal the joint where the faucet faceplate or escutcheons meet the shower wall after they have been reattached.


